Sorry, We're Closed Today
Call Us:
0401 689 879


Hello, fellow DIY enthusiasts!
Today, we will dive into how to paint a wall.
Whether you’re a seasoned painter or just starting, this comprehensive guide will walk you through the entire process, from gathering the necessary tools and materials to cleaning up after completing your masterpiece.
Let’s get started!
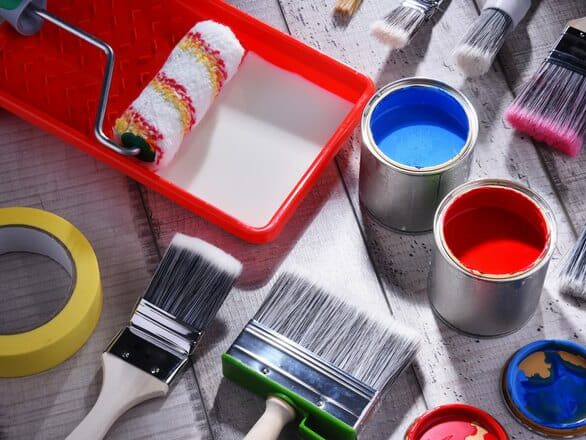
Before you begin, make sure you have the following tools and materials on hand:
Before you start painting, it’s essential to prepare the area properly. First, remove any furniture or items from the room, or move them to the centre and cover them with drop cloths. Lay down drop cloths on the floor to protect it from paint splatters.
Next, use the screwdriver to remove outlet covers and light switch plates, and cover the remaining fixtures with painter’s tape.
Now it’s time to prep the wall itself. Clean the surface with a mild detergent and warm water, removing dirt, dust, or grease.
After the wall is dry, use sandpaper to smooth out any rough patches or imperfections. Wipe away dust with a damp cloth and let the wall dry completely.
Depending on the type of painting you’re using, you may need to apply a primer before painting.
Primer helps the paint adhere better to the wall and provides a more even finish. If needed, apply a coat of Primer to the entire wall using a roller or brush, and let it dry completely before moving on to the next step.
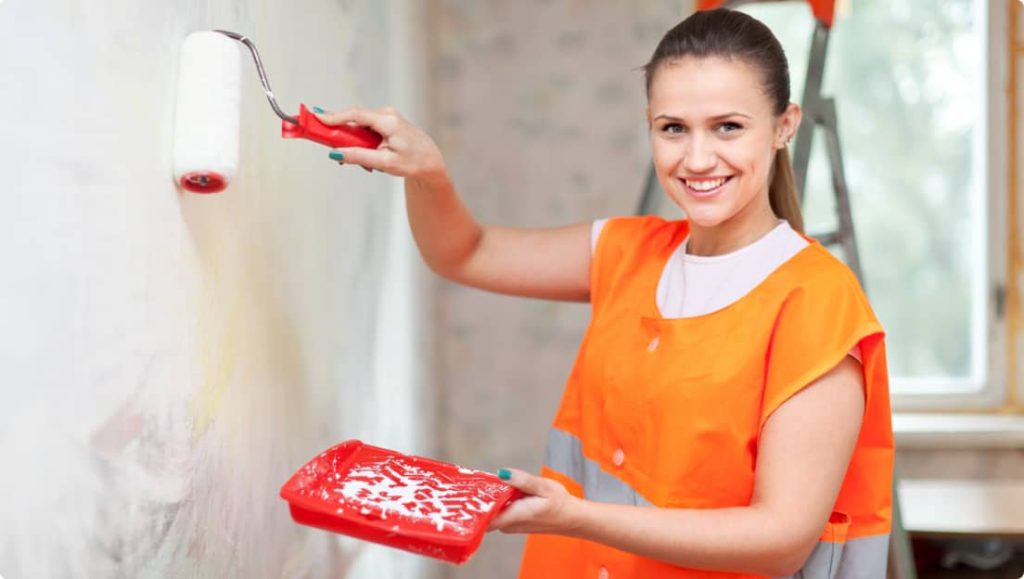
Now comes the exciting part – painting the wall! Follow these steps for a smooth, professional-looking finish:
Start by cutting around the edges of the wall using a paintbrush. It means painting the corners, advantages, and areas where the wall meets the ceiling or floor. Use long, steady strokes to create a smooth and even finish.
Pour some paint into the tray. Dip your roller into the paint and roll it back and forth on the tray’s ridges to evenly distribute the paint on the roller.
Use the roller to paint the rest of the wall in a “W” pattern. Start at the top of the wall and work your way down, using long, even strokes. Swap each stroke slightly to prevent streaks and ensure even coverage.
Once the first coat has dried completely, assess whether you need to apply additional coats for full coverage. If so, repeat steps 2 and 3 for each subsequent skin.
Estimate how much paint you’ll need by measuring the square footage of the wall and checking the colour can for coverage information.
Choose the right brush or roller for your paint type and wall texture.
A synthetic brush is typically best for water-based paints, while a natural-bristle meeting works well with oil-based paints. For rollers, a shorter nap is suitable for smooth walls, while a longer nap is better for textured surfaces.
Refrain from overloading your brush or roller with paint, leading to drips and an uneven finish.
Avoid painting in direct sunlight or extreme temperatures, as this can affect the paint’s drying time and final appearance.
Once you’ve finished painting, it’s time to clean up. Remove painter’s tape, drop cloths, and any protective coverings from fixtures.
Also, clean brushes, rollers, and trays with water and soap or mineral spirits (for oil-based paints).
When storing brushes, please keep them in their original packaging or hang them by the handle to maintain their shape.
Store rollers in a plastic bag or airtight container to prevent them from drying out. Store leftover paint in a cool, dry place, and label it with the room and date for future touch-ups.