You’ve likely tackled a painting project or two as a home or business owner. Nothing entirely elevates and rejuvenates a space like a fresh coat of paint.
However, painting projects demand attention to detail, and one crucial aspect is properly removing the painter’s tape.
Please remove the painter’s tape immediately to avoid multiple issues, but don’t worry!
We’re here to share tips and expert advice to ensure your next painting project is hassle-free and visually stunning.
In this article, we will discover why proper painters’ tape removal is crucial for both your home and office after the completion of painting projects.
Before we dive into the consequences of leaving painter’s tape on too long, let’s first understand its primary function.
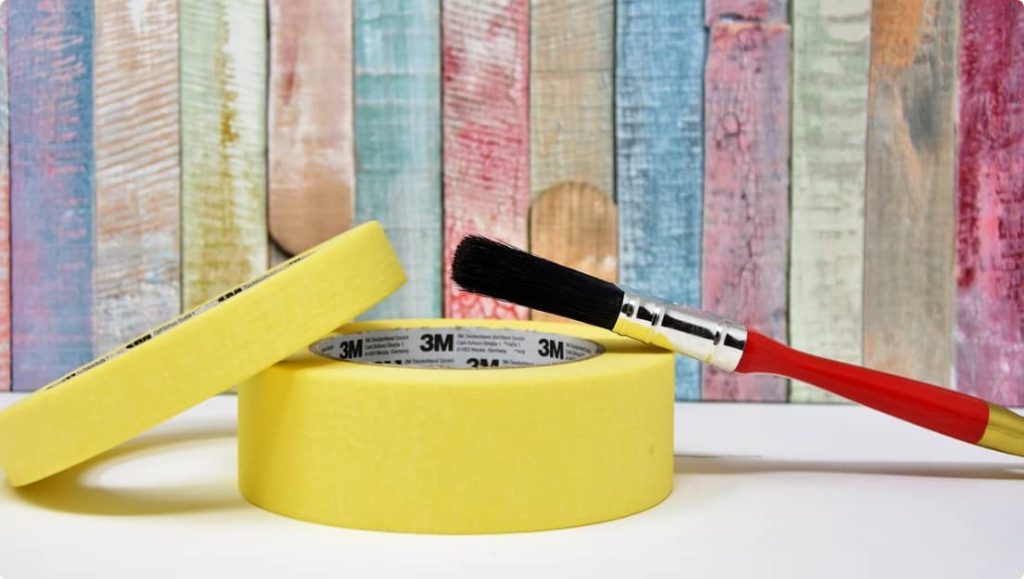
Painters tape is indispensable for creating crisp, clean lines between two colours or surfaces.
It helps establish a barrier that prohibits paint from bleeding onto unwanted surfaces. However, when left on for too long, multiple issues can arise:
As the adhesive on the tape ages, it becomes stubborn and challenging to remove.
If you ignore this fact and let the tape sit for an extended period, you may end up with torn paint or, worse, surface damage.
It could result in expensive repairs, negating all the effort and money you invested in your project.
So, removing the tape as soon as possible is always wise, even if it means doing so in stages.
Ultimately, respecting the lifespan of painter’s tape can save you money, time, and headaches.
Prolonged tape exposure can leave an annoying, stubborn sticky residue on your freshly painted walls.
Have you ever left painter’s tape on too long, only to find it’s starting to peel or lift?
Not only is it frustrating, but it can also ruin the crisp edges you worked so hard to achieve. The reason?
When the tape starts to lift, paint can seep underneath, reducing the tape’s effectiveness altogether.
Now that you understand the importance of proper painter’s tape removal let’s discuss how to avoid these issues and ensure a quality finish on your project.
Now that you understand the importance of proper painter’s tape removal let’s discuss how to avoid these issues and ensure a quality finish on your project.
Most painter’s tape brands recommend 24 hours of drying time before removal. However, some experts recommend removing the tape. At the same time, the paint is still slightly wet to prevent damage to the paint’s edges.
Remove the tape slowly and at a 45-degree angle to guarantee a clean edge. This method prevents the paint from tearing and ensures a sharp line.
If the paint has dried and overlapped the tape, run a utility knife or multi-tool along the edge where the colour meets the tape. This action breaks the seal and allows for a smoother removal process.
If the adhesive residue remains, use a hairdryer to heat the tape gently. The heat will soften the glue, making removing it easier without causing damage.
Following these expert tips and understanding the importance of proper painter’s tape removal, you can enjoy a stunning final result on your home or business painting projects.
Remember to share your thoughts in the comments section below!
If you want professional guidance on your next painting project, Paintbuddy&CO is here to help.
Receive a free quote from our team of dedicated professionals Today.
You can trust us to deliver exceptional quality and attention to detail for a new and vibrant space you will love!